
Description
To install TotalAV on an Apple Mac, the process is straightforward and involves downloading the software, running the installation file, and completing a few steps to ensure proper setup. Below is a technical description of the steps involved in installing TotalAV on your Mac:
Download the Installation File: Start by downloading the TotalAV installer for macOS from the official TotalAV website. The installer is typically in a .dmg (Disk Image) file format, which is the standard format for macOS applications.
Open the .dmg File: Once the download is complete, navigate to the location where the .dmg file was saved (usually the "Downloads" folder). Double-click on the .dmg file to mount it. This action will open a new window showing the TotalAV installation package.
Start the Installation: Inside the window that appears after mounting the .dmg file, you'll find the TotalAV installation package (usually labeled as "TotalAV Installer" or similar). Double-click on this package to begin the installation process.
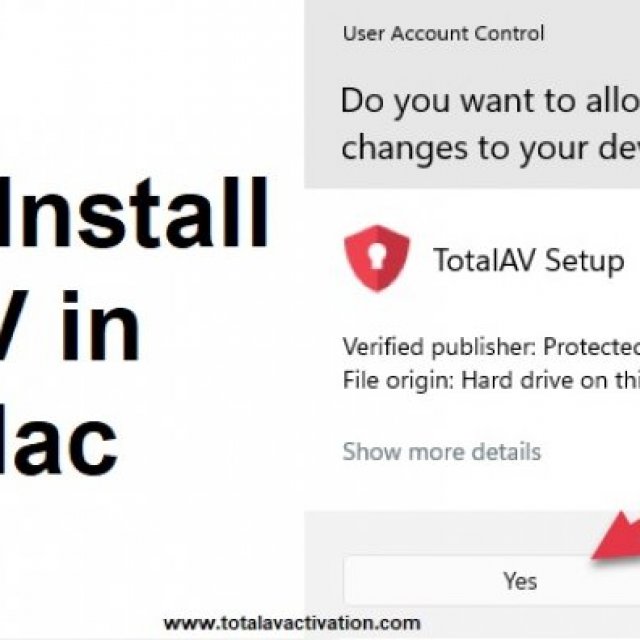
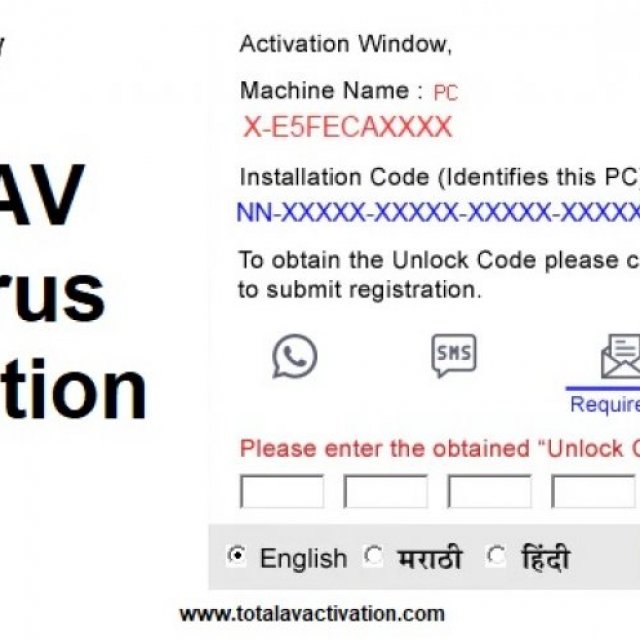
Grant Permission for Installation: macOS may prompt you to confirm that you want to allow the installer to make changes to your system. Click "Continue" to proceed. You may also be asked to enter your Mac’s administrator password to grant permission for the installation. Enter the password to proceed.
Follow the Installation Wizard: The TotalAV installer will launch a step-by-step setup wizard. Follow the on-screen instructions, agreeing to the End User License Agreement (EULA) and selecting the installation location. Typically, the default location is your "Applications" folder, which is where most Mac applications are installed.
Wait for Installation to Complete: The installation process should take only a few moments. The installer will copy the necessary files and complete the setup. Once it’s done, you will be notified that TotalAV has been successfully installed on your Mac.
Open TotalAV: After installation, you can find TotalAV in your "Applications" folder. Open the "Applications" folder, locate the TotalAV app, and double-click it to launch the program. If you see a security warning about opening the app because it was downloaded from the internet, click "Open" to proceed.
Sign In or Create an Account: Upon first launch, TotalAV will prompt you to sign in with your existing TotalAV account or create a new account if you don’t already have one. If you already have a subscription, log in with your credentials to activate the software. If not, you may need to purchase a subscription or enter a license key to unlock premium features.
Allow Permissions: TotalAV may request access to certain system features, such as full disk access, to ensure it can scan your Mac for potential threats. You’ll need to grant these permissions in macOS Security & Privacy settings. To do so, follow the on-screen instructions to navigate to the Security & Privacy section in System Preferences, where you can enable the necessary permissions for TotalAV.
Complete Initial Setup: Once all necessary permissions are granted, TotalAV will conduct an initial scan of your system for any potential threats. You may be asked to update the software or run an immediate security scan.
Configure Settings: After installation, you can customize TotalAV’s settings based on your preferences. You can enable automatic scans, adjust firewall settings, and configure other security preferences through the TotalAV dashboard.
By following these steps, TotalAV will be successfully installed and running on your Mac, providing protection against viruses, malware, and other security threats.
Reviews
To write a review, you must login first.
Similar Items
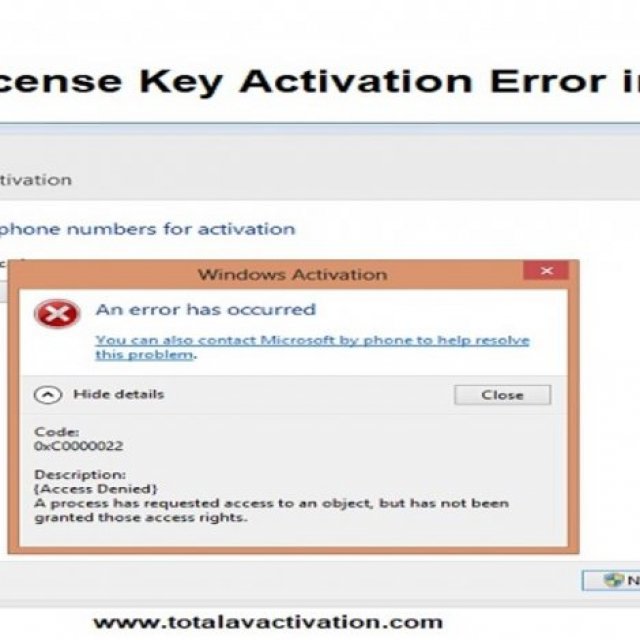
+1 888 653 3691 Total AV License Key Activation Error in Windows Arizona
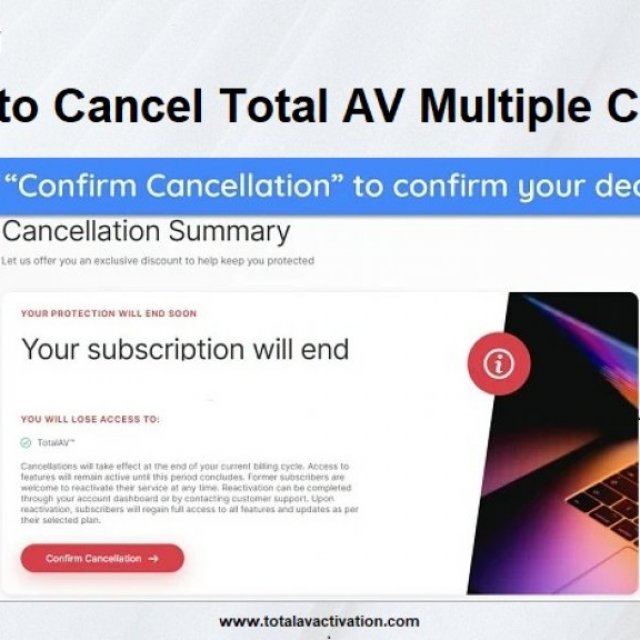
+1 888 653 3691 How to Cancel Total AV Multiple Charge Arizona
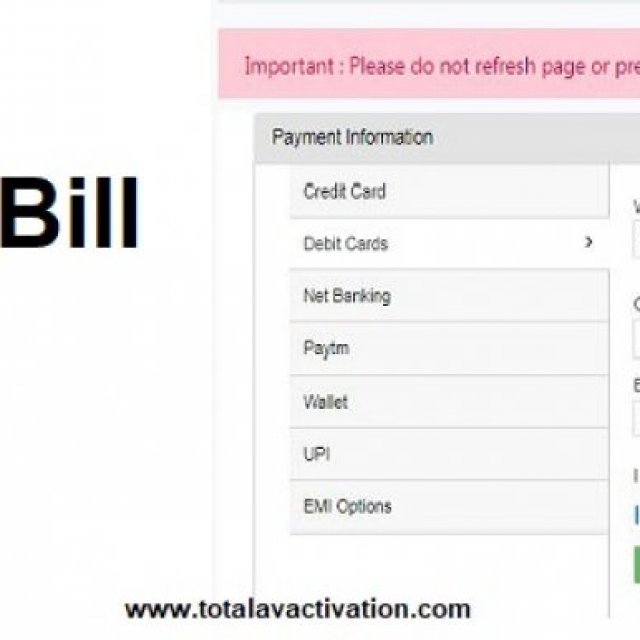
+1 888 653 3691 Total AV Bill Payment Issue Arizona
+1 888 653 3691 Total AV Antivirus Activation Issue Arizona